Understanding Wireframes and Prototypes
Wireframing and prototyping are crucial steps in the design process of any digital product. They serve different purposes and are used at different stages of development. In this article, we will explain the difference between wireframes and prototypes and provide tips for creating low-fidelity and high-fidelity prototypes using popular design tools like Sketch, Figma, or Adobe XD.
Wireframes: The Blueprint of a Design
Wireframes are visual representations of a design’s structure and functionality. They are typically created in the early stages of the design process to outline the basic layout and content of a digital product. Wireframes are simple, black and white, and devoid of any visual details such as colors, images, or typography.
The primary purpose of wireframes is to establish the hierarchy of information and the overall user flow. They help designers and stakeholders visualize the skeletal framework of a design, focusing on the placement of elements and the interaction between different screens or pages.
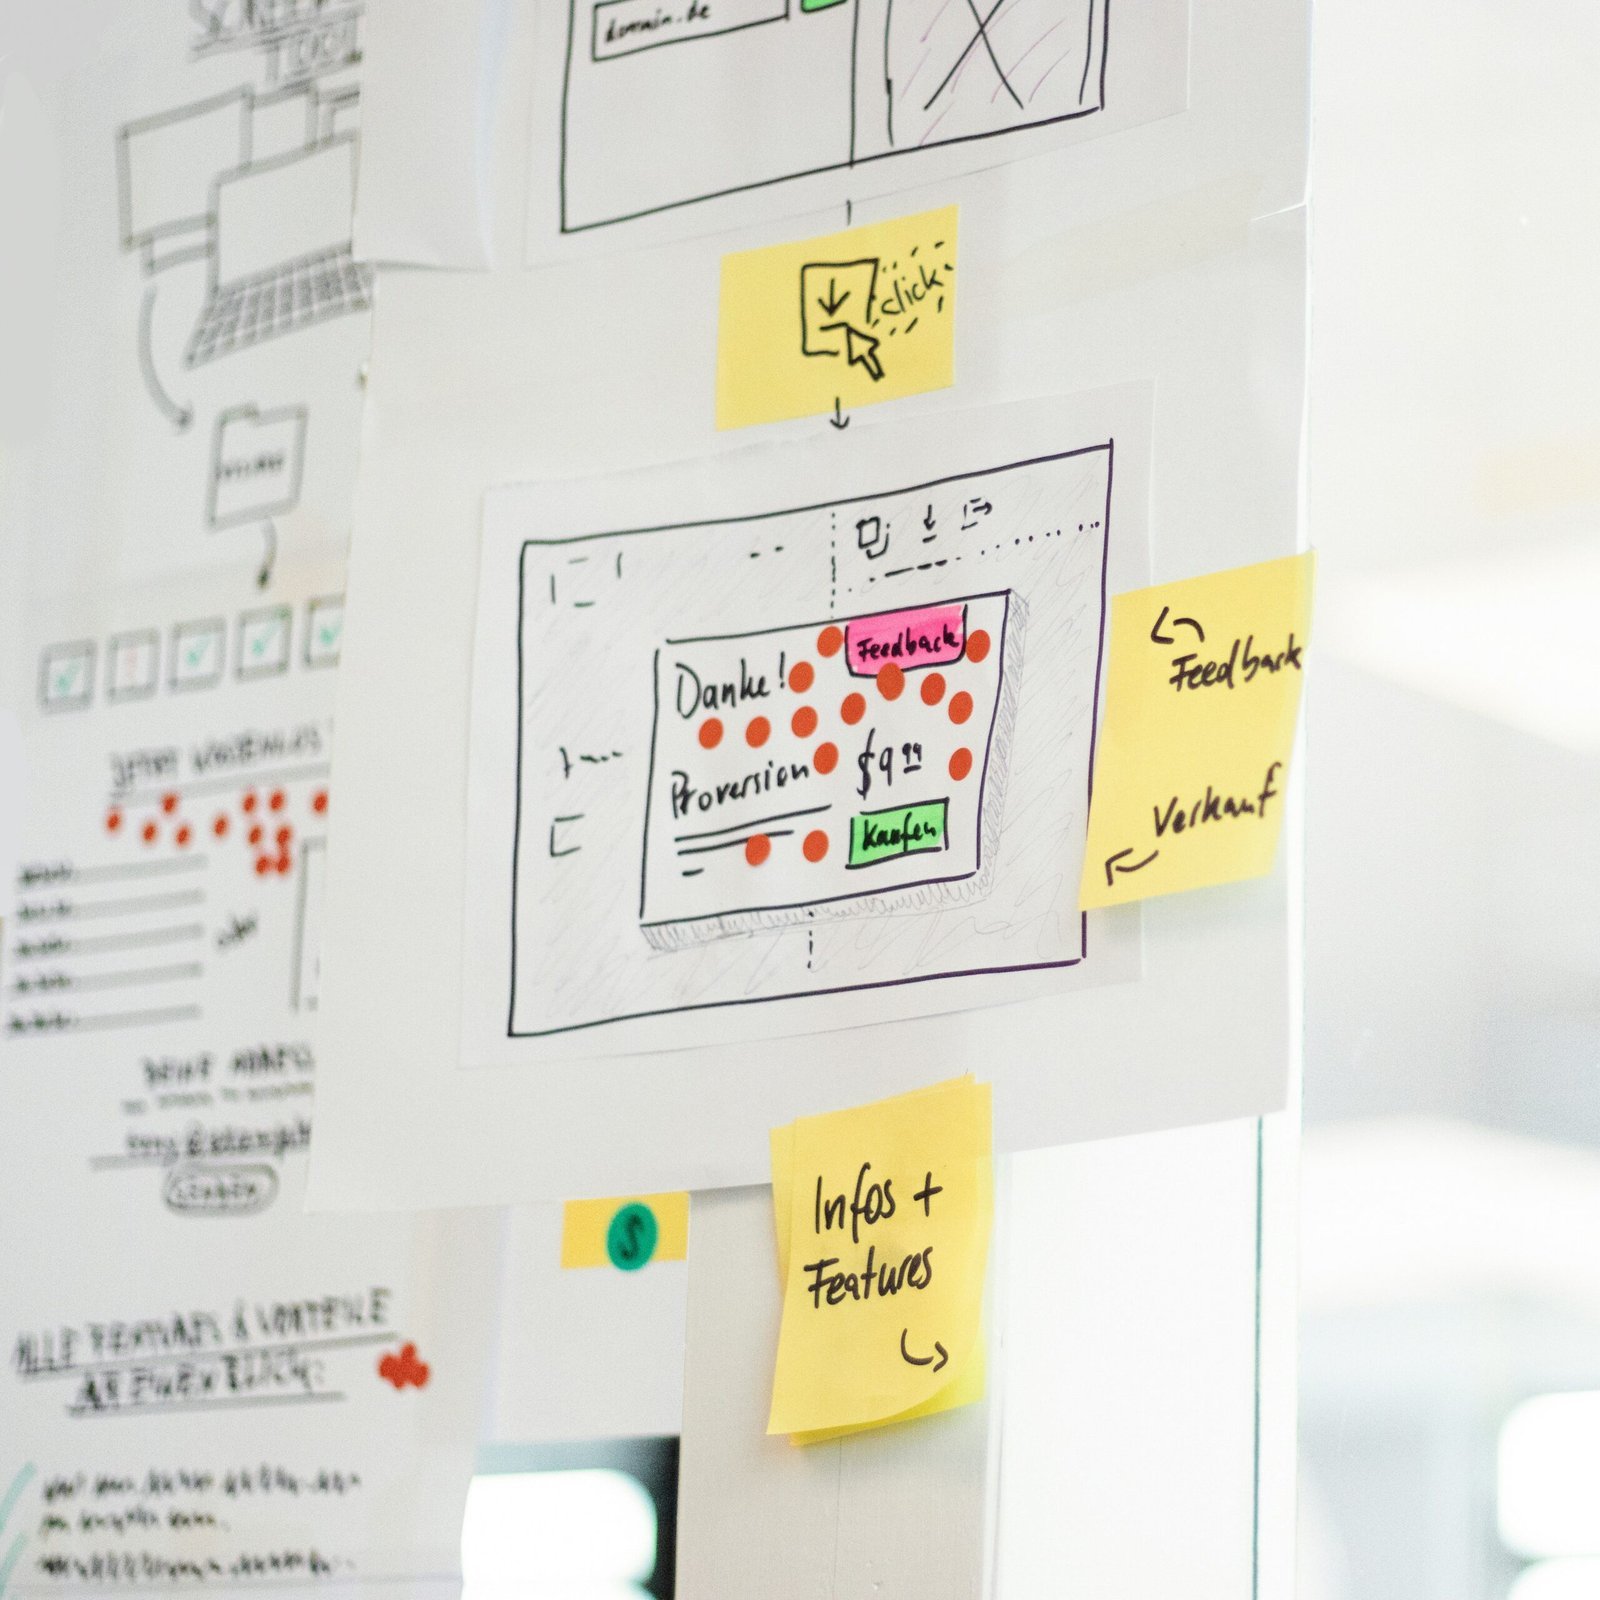
Wireframes can be hand-drawn sketches or created using design tools. They are quick and inexpensive to produce, allowing for rapid iterations and feedback. Wireframes are especially useful for early-stage concept validation and collaboration with clients or team members.
Prototypes: Simulating the User Experience
Prototypes, on the other hand, are interactive representations of a design that simulate the user experience. They are more advanced than wireframes and provide a closer approximation of the final product. Prototypes can be low-fidelity or high-fidelity, depending on the level of detail and functionality they aim to showcase.
Low-fidelity prototypes are basic, rough drafts that focus on the core functionalities and user interactions. They are often created using simple tools or even paper and are used to test and validate design concepts. Low-fidelity prototypes help identify usability issues, gather user feedback, and refine the overall user experience.
High-fidelity prototypes, on the other hand, are highly detailed and closely resemble the final product in terms of visuals and functionality. They are created using design tools and can simulate complex interactions, animations, and transitions. High-fidelity prototypes are used to showcase the design’s look and feel, test specific features, and gather more detailed feedback from users.
Creating Low-Fidelity Prototypes
When creating low-fidelity prototypes, it’s important to focus on the core functionalities and user interactions. Here are some tips for creating effective low-fidelity prototypes using popular design tools like Sketch, Figma, or Adobe XD:
- Start with a clear objective: Define the purpose of your prototype and the specific features or interactions you want to test.
- Keep it simple: Use basic shapes, placeholders, and simple icons to represent different elements and actions.
- Use grayscale: Stick to a grayscale color scheme to avoid distractions and focus on the structure and layout.
- Create clickable links: Use the prototyping features of your design tool to create interactive links between different screens or pages.
- Add annotations: Include explanatory notes or annotations to guide users through the prototype and provide context.
- Test and iterate: Share your low-fidelity prototype with users or stakeholders, gather feedback, and iterate based on the insights you gain.
Creating High-Fidelity Prototypes
High-fidelity prototypes require more time and effort to create but offer a more realistic representation of the final product. Here are some tips for creating high-fidelity prototypes using design tools like Sketch, Figma, or Adobe XD:
- Start with wireframes: Begin by creating wireframes to establish the basic structure and content of your design.
- Define a visual style: Choose colors, typography, and visual elements that align with the overall design direction.
- Add visual details: Incorporate images, icons, and other visual elements to enhance the realism and visual appeal of your prototype.
- Create realistic interactions: Use the prototyping features of your design tool to simulate animations, transitions, and other interactive elements.
- Test with real content: Populate your prototype with real or realistic content to provide a more accurate representation of the final product.
- Collect detailed feedback: Share your high-fidelity prototype with users or stakeholders and gather feedback on specific features, interactions, and visual elements.
- Iterate and refine: Use the insights gained from user testing to iterate and refine your design, making necessary improvements and adjustments.
Conclusion
Wireframes and prototypes are essential tools in the design process, each serving a unique purpose. Wireframes provide a blueprint of the design’s structure and functionality, while prototypes simulate the user experience. By understanding the differences between wireframes and prototypes and following the tips provided, you can create effective low-fidelity and high-fidelity prototypes using popular design tools like Sketch, Figma, or Adobe XD. Remember to iterate and gather feedback throughout the process to ensure the final product meets the needs and expectations of its users.